We recently renovated our primary bathroom! I will share a link to the longer post about that once it’s up. For now, let’s talk finishes! One of the most important parts (if not THE most) of any renovation is selecting finishes. For me, this project felt like it was in the planning stage forever, but once we started construction there was no stopping that train. That’s why it’s so important to have all of the finishes finalized and products ordered ready to go prior to demo day.
visualization & vibe trays
Being able to visualize the finished space and be certain you’ll have no regrets is key. That’s why I like to compile physical samples of finishes whenever possible as well as create a digital mood board. I took some advice from Kelly Wearstler and always make a “vibe tray” before proceeding with designing or renovating a space. Sometimes seeing really is believing and this way I know what my space will look like upon completion. This tray from The Container Store is the perfect clean backdrop for any project’s vibe tray.
sourcing
After perusing several local tile shops, I decided to browse online to access a wider selection. TileBar ended up being my favorite resource since they will send you a box of 5 samples for $5. I was able to select a couple wall tiles and floor options in my first sample order.
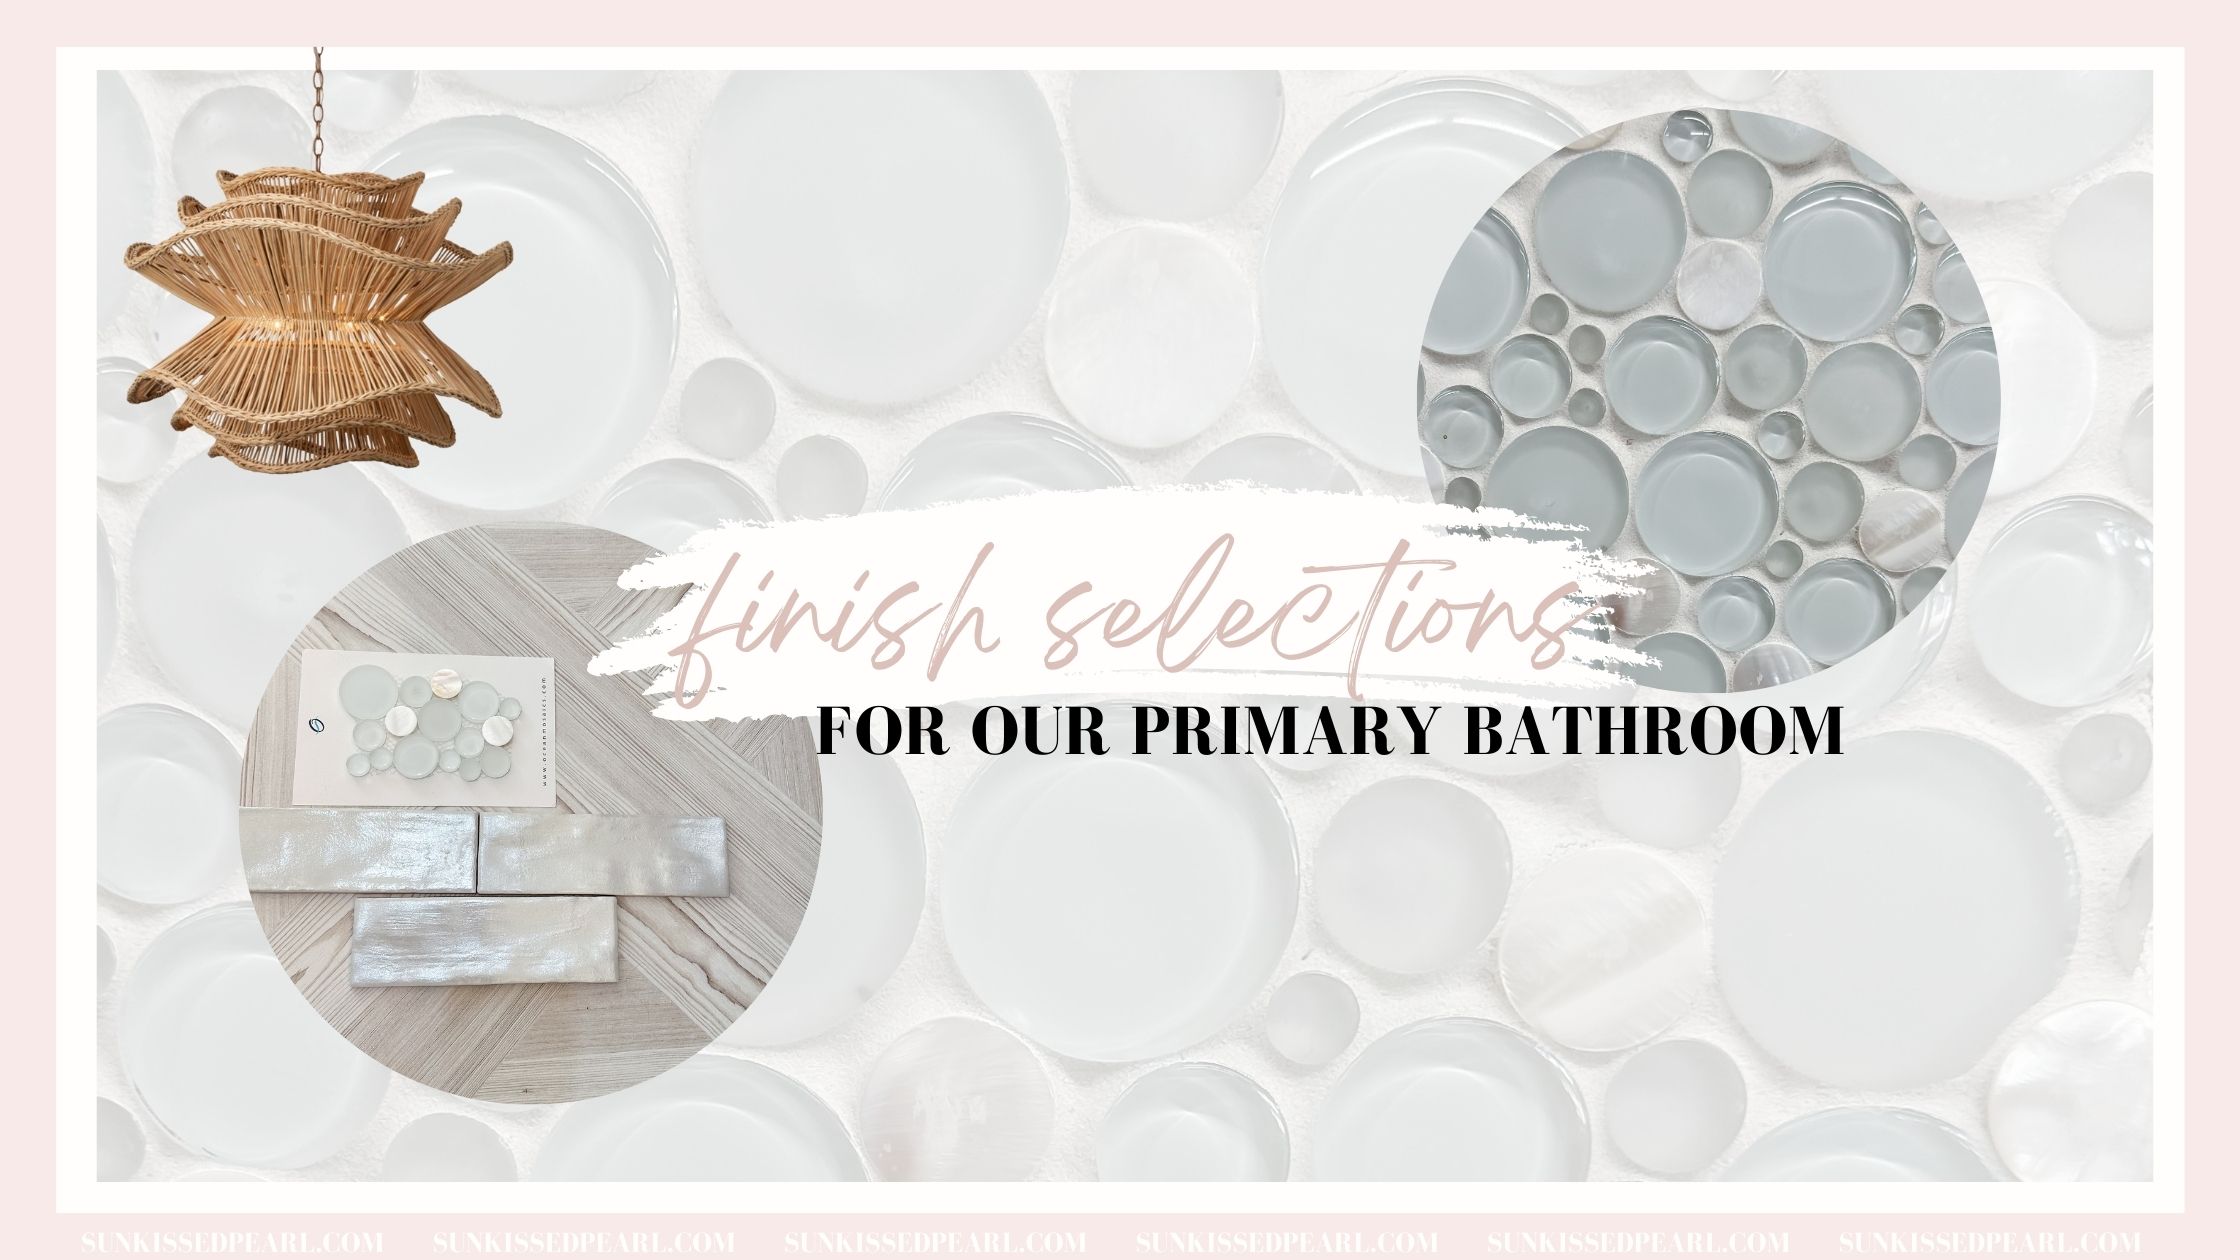
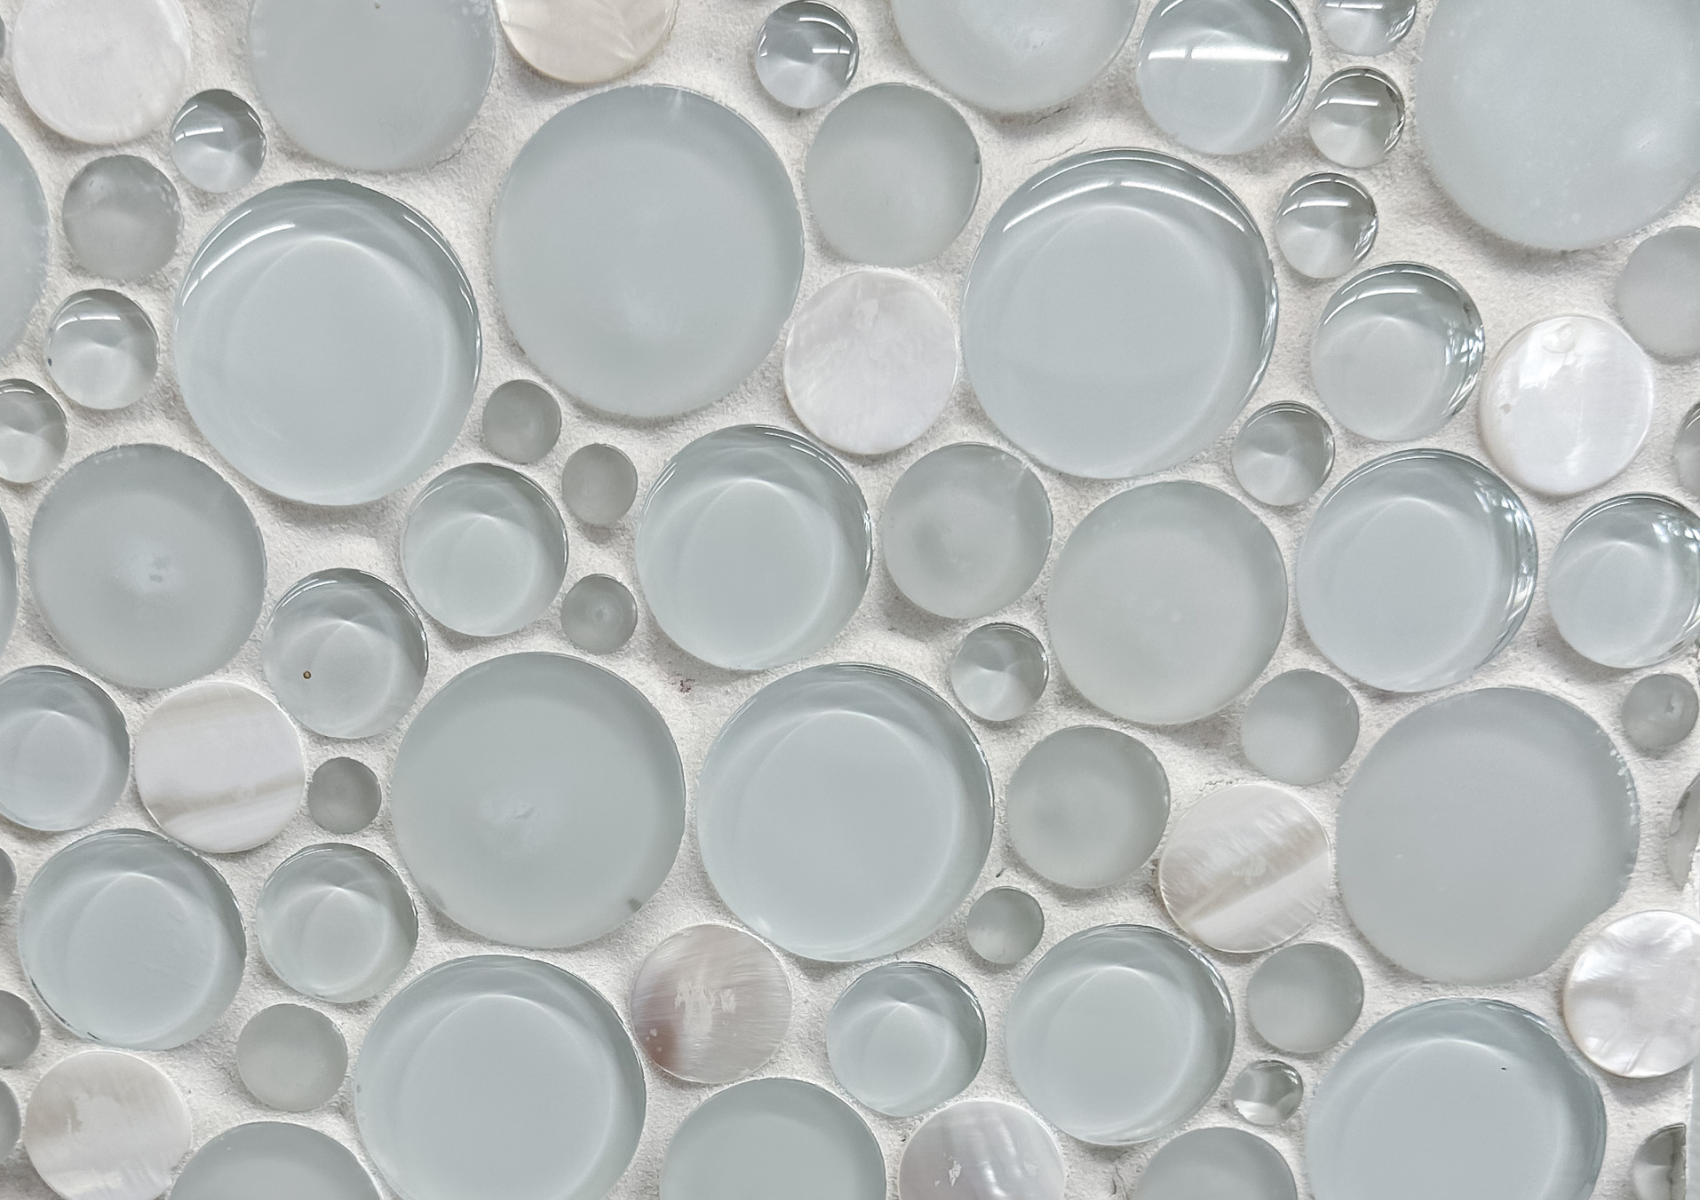
I wanted this bathroom to feel like a luxurious seaside spa. For me, tranquil soft watery colors give me the most restorative experience. My source of inspiration was sea glass and pearl. The first finish I selected was the mosaic accent tile and all other finishes / materials were based around it. To me, this “sea glass” with frosted and clear circles of different sizes and mother of pearl sprinkled in is absolute perfection. I found this at a local tile shop in Delray Beach, FL but you can order online from Ocean Mosaics.
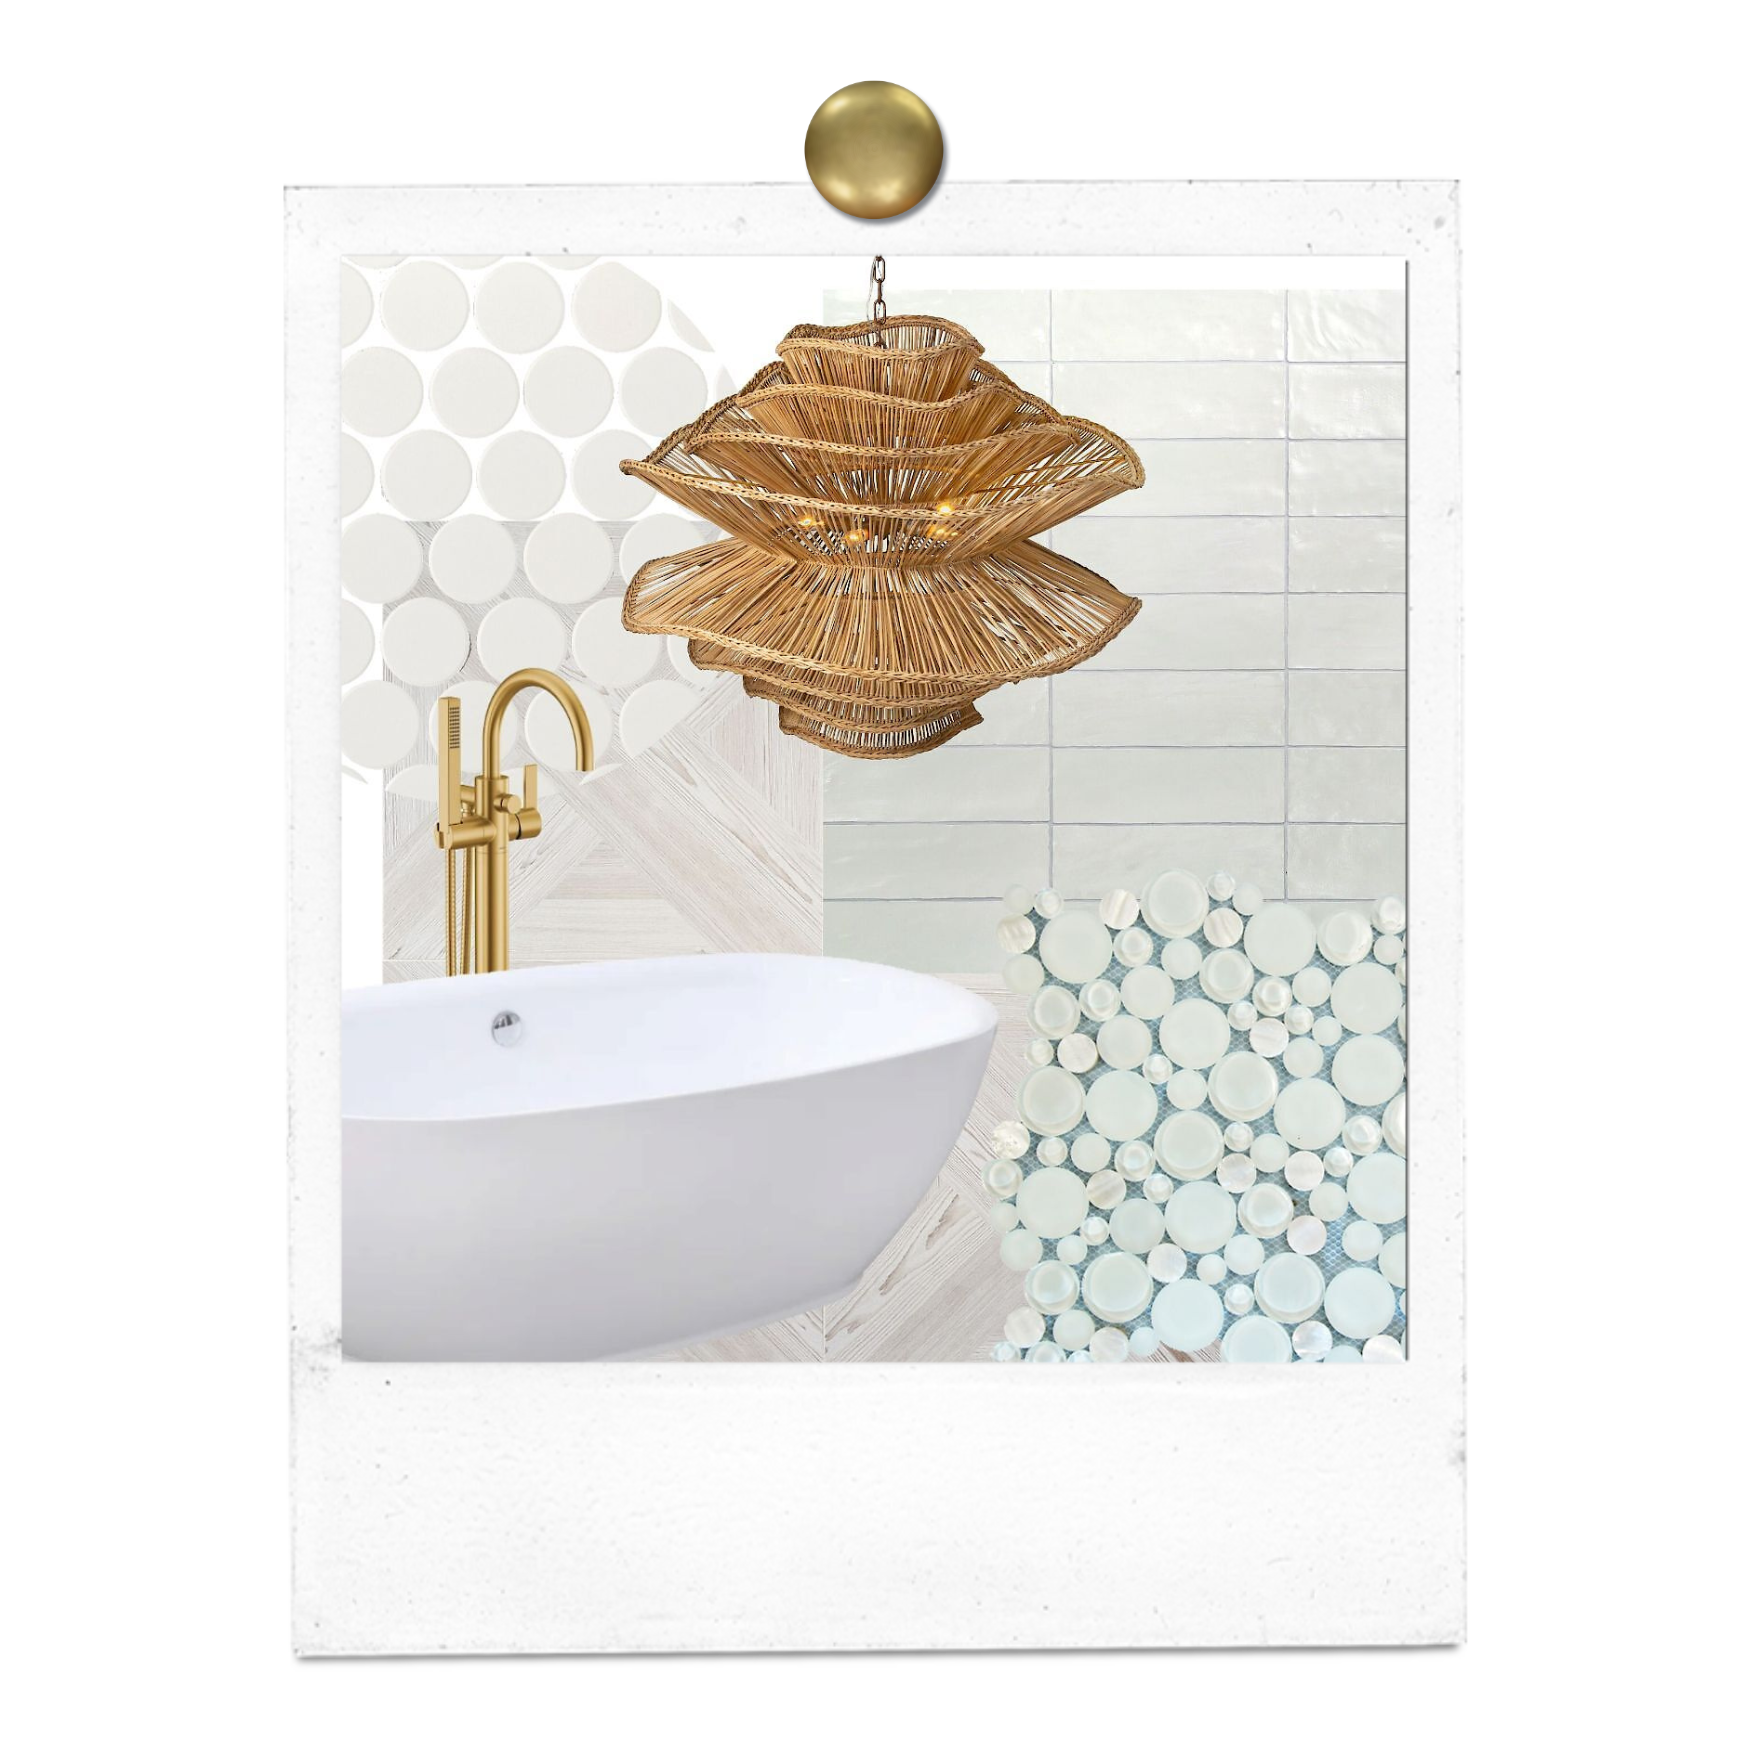
Next, I chose the shower wall tile that would be directly touching the mosaic. I thought about Zellige tiles, but upon discovering they are very thick (more like a brick than a tile) and require a highly skilled installer, I went a different direction. I still wanted the uneven surface to give an imperfect, handmade look and landed on the Montauk Sky Blue 2×8 Mixed Finish Ceramic Subway Tile from TileBar. Sky was the perfect subtle hint of color I needed to achieve my desired look. Most colored tiles have a lot of pigment to them and I didn’t want the tile to be overwhelming with our 12’ ceiling height. Montauk Sky has just a whisper if you will, of soft blue.
Now with my satin finish wall tiles, I knew I needed something for the shower floor that would fade into the background without being drab. It also had to be practical with a good non-slip grip. I chose a 2″ round oversized white matte penny tile. I actually ended up loving this more than I thought I would too.
flooring & working with what you’ve got
The hardest tile for me to select ended up being the main bathroom floor tile. I was really caught up in thinking I wanted the shower floor / main floor to be the same. Then, I realized I just wanted them to flow on from one another visually. I also had our brown wood veneer vanity to contend with. Now this cabinetry would not have been my first choice, but after pricing out a whole new vanity or refinishing, we decided it would be best to work with what we had. After all, it was brand new cabinetry and a style many people intentionally seek out. I headed back to TileBar and found this GORGEOUS white wood look matte porcelain tile. The suggested style for this tile is modern farmhouse, but I found it to be the perfect coastal casual flooring. The wood grain / knots tied our vanity in so well. After warming the vanity up with brass hardware and faucets, I went from semi hating it thinking that keeping it was a compromise to loving it!
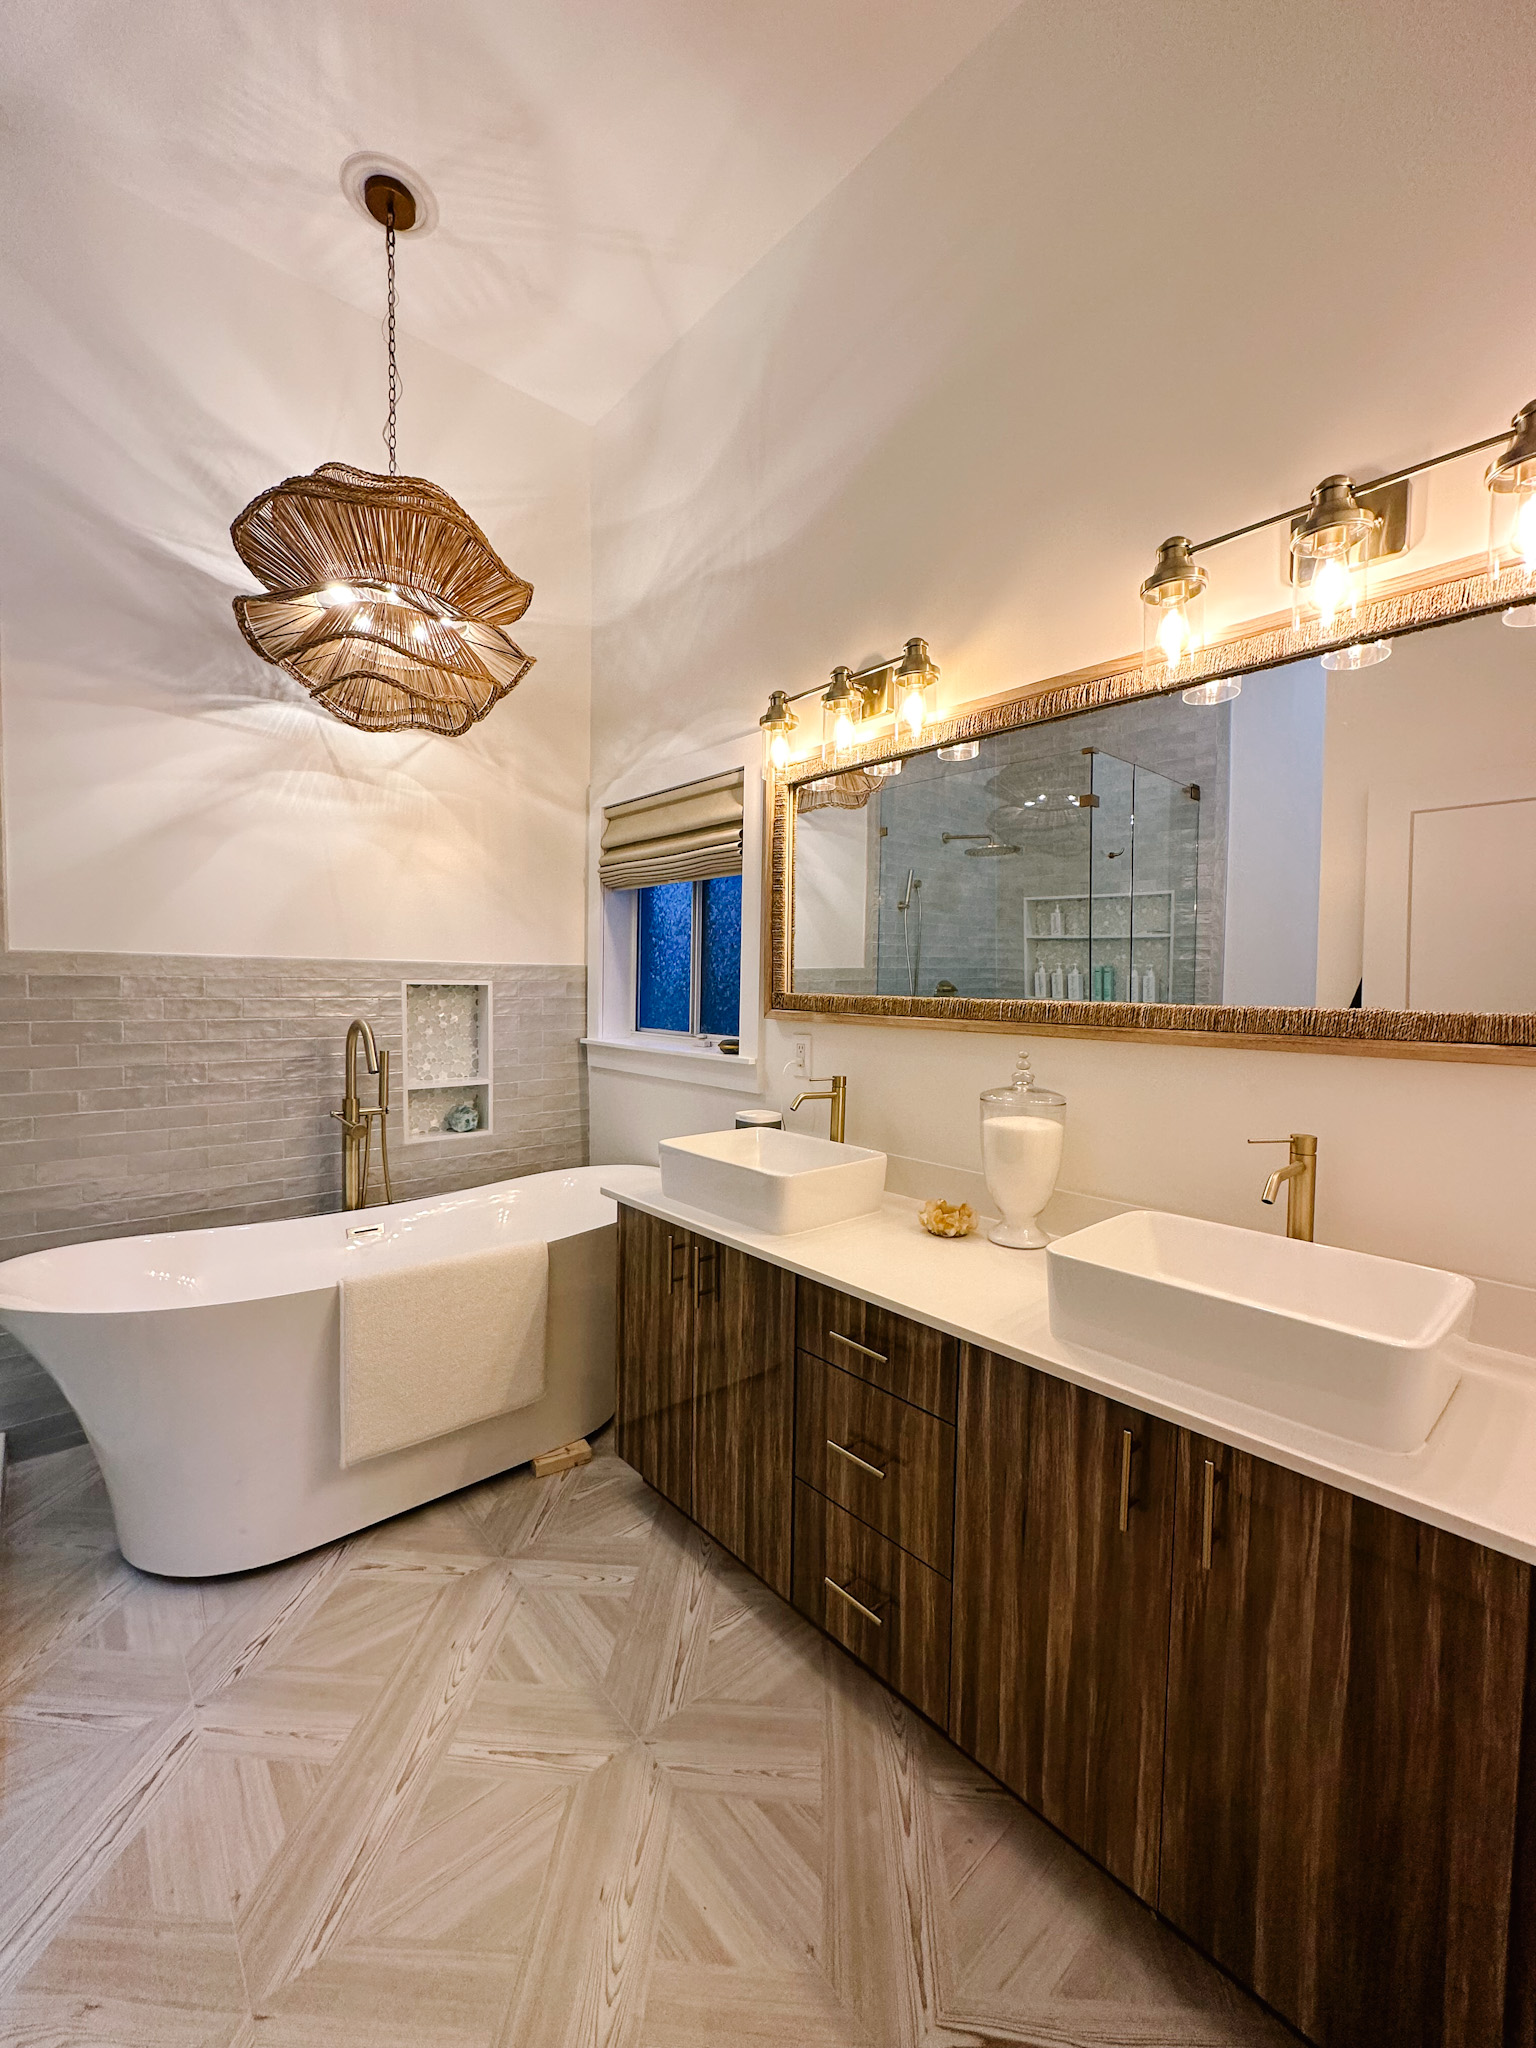
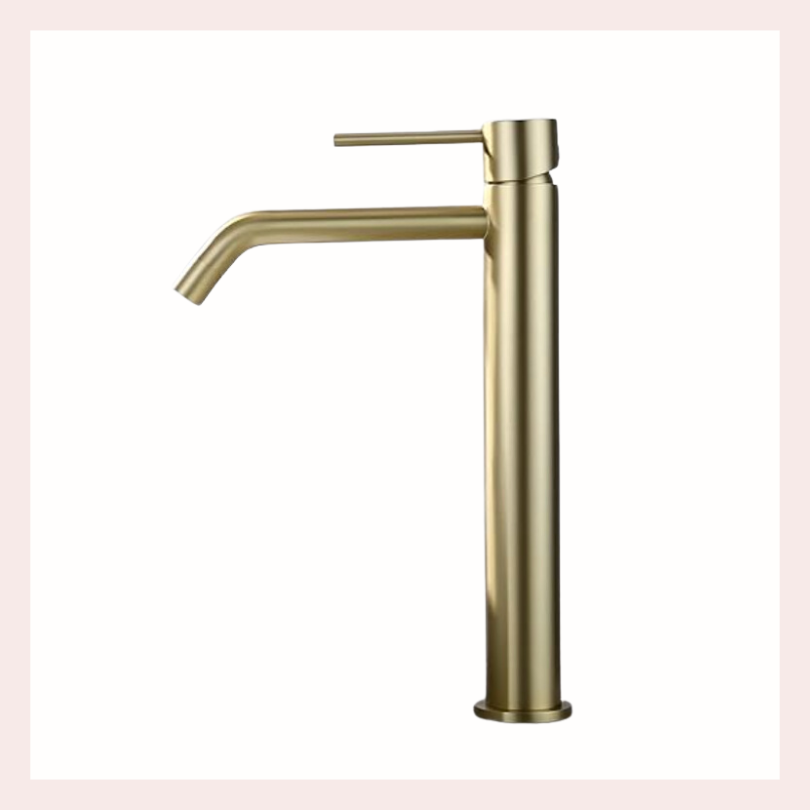
Aside from the tub awaiting drain connection, this photo shows the flooring and vanity pretty well. All metal faucets and fixtures were done in brushed gold. We viewed a variety of brands with gold finishes at a local bath showroom and landed on Pfister. Their fixtures have the perfect amount of warmth. We ordered the following items from Build.com:
Diverter & Valve
Rain Shower Head (Exact Product Discontinued in Brushed Gold) Alternate option linked here
Shower Head Arm
Handheld Shower Kit
Tub Filler Faucet
Vanity Hardware
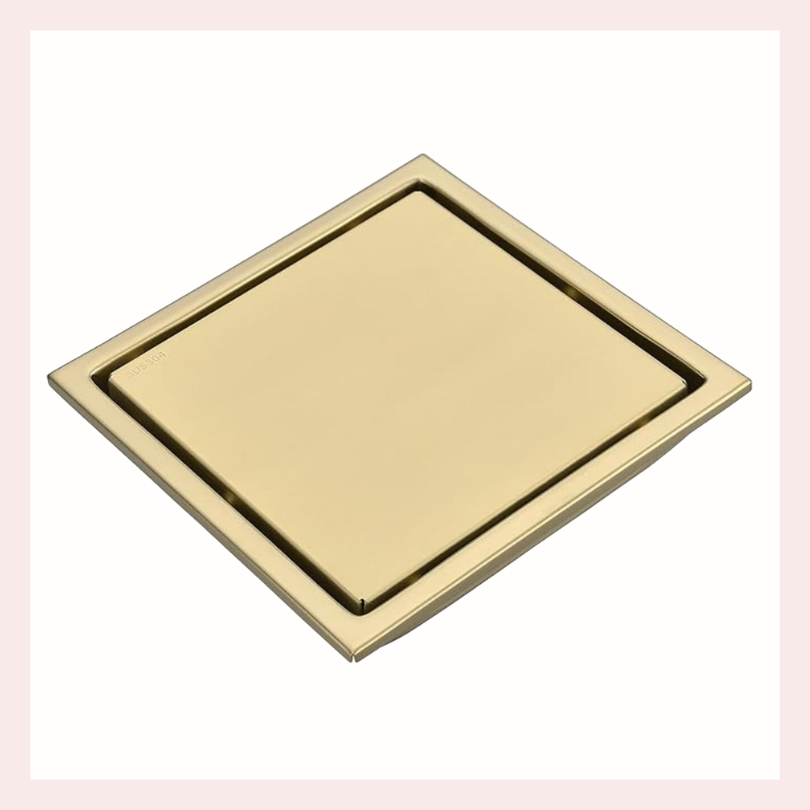
I ordered our tile-in shower drain and sink faucets from Amazon. Both look great with the higher end fixtures we purchased and we haven’t had any problems almost a year later. Tile-in drains are great because they look seamless and typically have a filter underneath to stop any hair from going into the actual pipes.
Stay tuned for the full reveal and photos + my favorite bathroom gadgets!
tile-in gold shower drain
This shower drain is seamless and made from stainless steel in a brushed gold finish. There is a flat side as well as a tile-in side to match your flooring. The strainer stops hair from blocking your drain.
